How to Create a Shabby Chic Mirror
2 Nov 2013
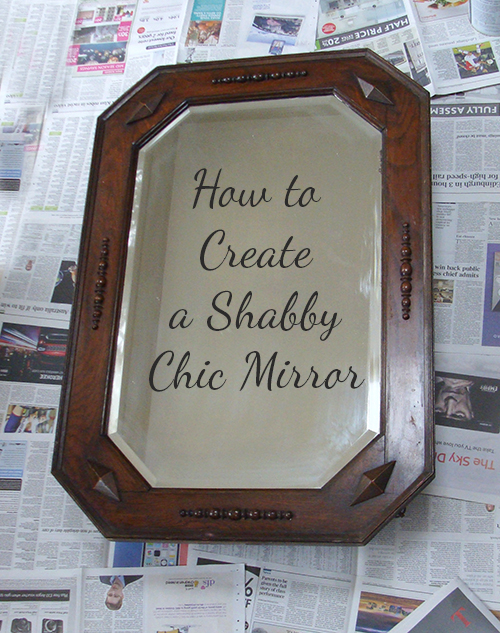
This is a beautiful vintage mirror, but it’s looking a bit tired and dated for today’s home décor. So I’m going to give it a shabby chic, French style by painting it with Annie Sloane’s chalk paint in ‘Country Grey’.
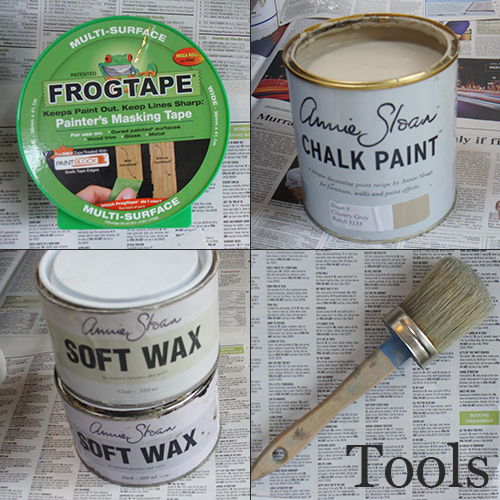
First things first, you will need:
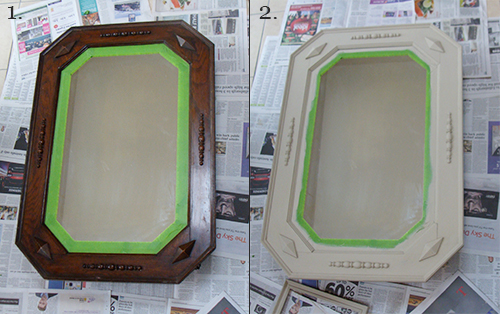
Here’s how to paint a mirror with a shabby chic finish:
1. The first step is to masking tape around the mirror so you don’t need to be so precise in your painting. The great thing about Annie Sloane paint is it will cover any surface so no need for all that fiddly sanding. Give the paint a good stir and if it’s a bit thick just add some water and stir in. It does need to be reasonably thick with the first coat to get good coverage.
2. Apply the paint quite unevenly so the brush strokes show as the final coat of dark wax will sit in the brush strokes to enhance the aged, shabby chic look. The paint will be dry in an hour or so and then give it another coat. I often find the second coat needs to be watered down.
3. The next step is to apply clear wax with a brush or a cloth. Work on one section at a time as the wax dries quite quickly. Apply liberally and make sure you work it into the surface then wipe off the excess with a cloth.
4. Then apply the dark wax making sure you rub it well into the surface.
5. Take a cloth and wipe off the excess again. It’s purely a matter of personal taste as to how much dark wax you leave on and if you find you want to remove more than will come off easily apply more clear wax to help rub the excess off. Use a small dry brush worked into mouldings to remove wax otherwise the excess wax will dry yellow and gungy looking.
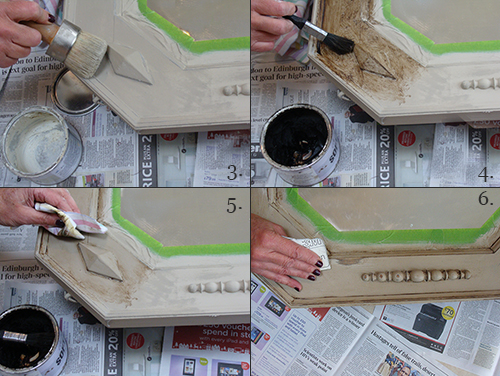
6. Leave to dry for a couple of hours and then sand the areas of the mirror that you would expect wear and tear to occur on but don’t sand too evenly- creating a shabby chic finish is about trying to make it look like it’s naturally aged. Keep standing back from the mirror to assess how it’s looking and areas that need working on. Brush off sanding particles and rub on a really thin coat of wax to the any heavily sanded areas.
7. Leave to dry for 24 hours before buffing with a soft cloth. I use cotton sheets from a charity shop torn into strips for the waxing and towels from the same source for the buffing. They must be lint free though otherwise you will have tiny fibres embedded in your wax.
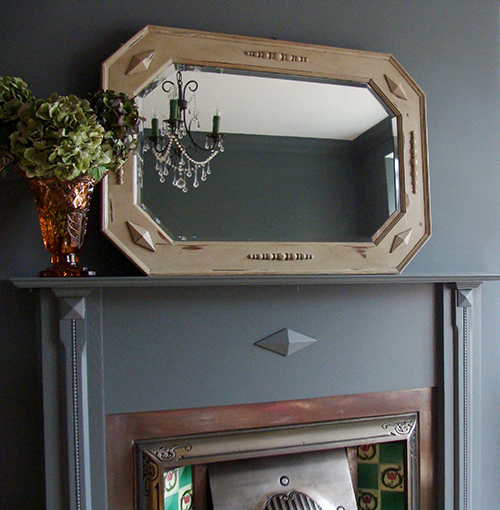
So there you have it- how to upcycle a tired, vintage mirror and create a beautiful, shabby chic mirror! What do you think? I love how the distressed finish and grey colour give it a beautiful French style. Or why not try painting the mirror in a more vibrant colour. Of course if you’re not feeling too crafty at the moment, do have a look at our range of mirrors on the site.
Jacqui x
How to Create a Shabby Chic Mirror- by Jacqui Brooks
4 replies to “How to Create a Shabby Chic Mirror”
Leave a comment
Your comments make us happy!









Oh that’s lovely! Completely changes the look, and makes it really complement the mantelpiece.
It’s amazing what a link of paint can do isn’t it!
Howdy just wanted to give you a quick heads up. The text
in your content seem to be running off the creen in Chrome.
I’m not sure if this is a format issue or something to do with browser compatibility but I figured I’d poist to
let you know. The design and style look great though!
Hope you get the issue solved soon. Thanks
Thanks very much for letting us know, we’ll look into it.